Welcome
Version 0.1
ArmorLab is a stand-alone software designed for AI-powered texture authoring. Generate PBR textures using text prompts or by drag & dropping your photos.
The preview version has many rough edges and the experience may be frustrating.
Download
Windows build is available. Linux (cpu only) and macOS (apple silicon only) builds also provided. On desktop, ArmorLab is a portable application with no installation - just unpack and run.
Requirements
ArmorLab runs on the GPU by default and the processing time depends on a graphics card performance. GTX 1060/6GB or better is recommended. Optionally, GPU inference can be disabled at the expense of processing time. With GPU inference disabled, ArmorLab benefits from multi-threaded CPU performance.
See Preferences to tune performance.
Updating
Latest builds can be downloaded through your Gumroad Library. Alternatively, use the original email sent by Gumroad to access the download page.
In ArmorLab, press
Help - Check for Updates...to check if newer build is available.
Get Started
Windows
Unpack downloaded archive and run ArmorLab.exe. In some cases, Windows may prompt you with the unrecognized app dialog - press More Info - Run Anyway.
Linux
Unpack downloaded archive and run ArmorLab. In some cases, you may need to open terminal in the extracted folder and run ./ArmorLab.
macOS
Unpack downloaded archive and run ArmorLab.app.
iOS
Coming soon.
Android
Coming soon.
Controls
Left mouse button / Pento paint a mask.Alt+left mouse buttonto rotate the camera.Alt+middle mouse buttonto pan the camera.Alt+right mouse button/mouse wheelto zoom in and out.- Controls can be customized in
Menu bar - Edit - Preferences... - Keymap. - Keymap presets can be imported and exported.
Workflow
Import Textures
Drag and drop .jpg, .png, .tga, .bmp, .gif, .psd, .hdr, .svg or .tif images into the node editor. This will import the image and place a new Image node onto the canvas.
See
Menu bar - Preferences... - Pluginsto enable support for additional image formats.You can get starter content in the ArmorPaint Cloud.
Import Meshes
Drag and drop unwrapped .obj file into the viewport. This will replace the currently painted mesh. .fbx, .blend, .stl, .gltf and .glb files are supported, but the importer is not 100% reliable yet.
Modifying imported mesh data:
- Normals can be re-calculated with
Meshes tab - Calculate Normals. - Up axis can be set with
Meshes tab - Rotate X / Rotate Y / Rotate Z. - Geometry can be re-centered with
Meshes tab - Geometry to Origin. - Height output can be applied to geometry with
Meshes tab - Apply Displacement. - UV map can be auto-generated by enabling the
uv_unwrapplugin.
See
Menu bar - Preferences... - Pluginsto enable support for additional mesh formats.You can get sample assets for testing in the ArmorPaint cloud.
Export Textures
Click on the Menu bar - File - Export Textures... button.
Resolution: Set resolution for exported textures.Color: Set8bit,16bitor32bitcolor depth.Format:.pngor.jpg(for8bitcolor),.exr(for16bit / 32bitcolor).Preset: Select a pre-configured preset or build a custom one.Genericpreset exports individual PBR textures.Unrealpreset exports packed occlusion-roughness-metallic texture.Unitypreset exports packed metallic-occlusion-smoothness texture.Minecraftpreset exports packed metallic-emission-roughness texture.Destination: Export textures to disk or pack into the project file atTextures tab.
Configure custom channel swizzling for exported textures in Presets tab:
- Select an existing preset you wish to edit or press
New. - Press
Importto import preset from.jsonfile. - Press
Addto create new texture slot. - Configure
RGBAchannels for each texture slot. - Right-click on texture name and press
Deleteto delete texture slot. .jsonfile for each preset is located in theArmorLab/data/presetsfolder.
Save / Load Project
Click on the Menu bar - File - Save button (Ctrl + S) to save the currently opened project. Mesh, nodes and textures will be saved into .arm project file.
To open the project file, drag and drop .arm file onto the viewport. .arm files can also be set to open directly with ArmorLab executable from the OS file explorer.
.jpg and other asset types can also be associated if you wish to use ArmorLab as a texture viewer.
Browser
Click on the Status bar - Browser tab to activate the built-in asset browser.
- Click on the
Cloudbutton to access the ArmorPaint cloud. - Drag assets from browser into the viewport to import.
- Click on the
+button to save the current path into bookmarks panel.
Nodes
Texture processing in ArmorLab is done via composing node graphs in node editor.
- Use toolbar at the top to add new nodes.
- Press
spaceto search for nodes. - Drag textures from
Textures tabor file explorer into the node editor to createImagenodes.
Node preview is displayed instantly in the viewport as the nodes are assembled.
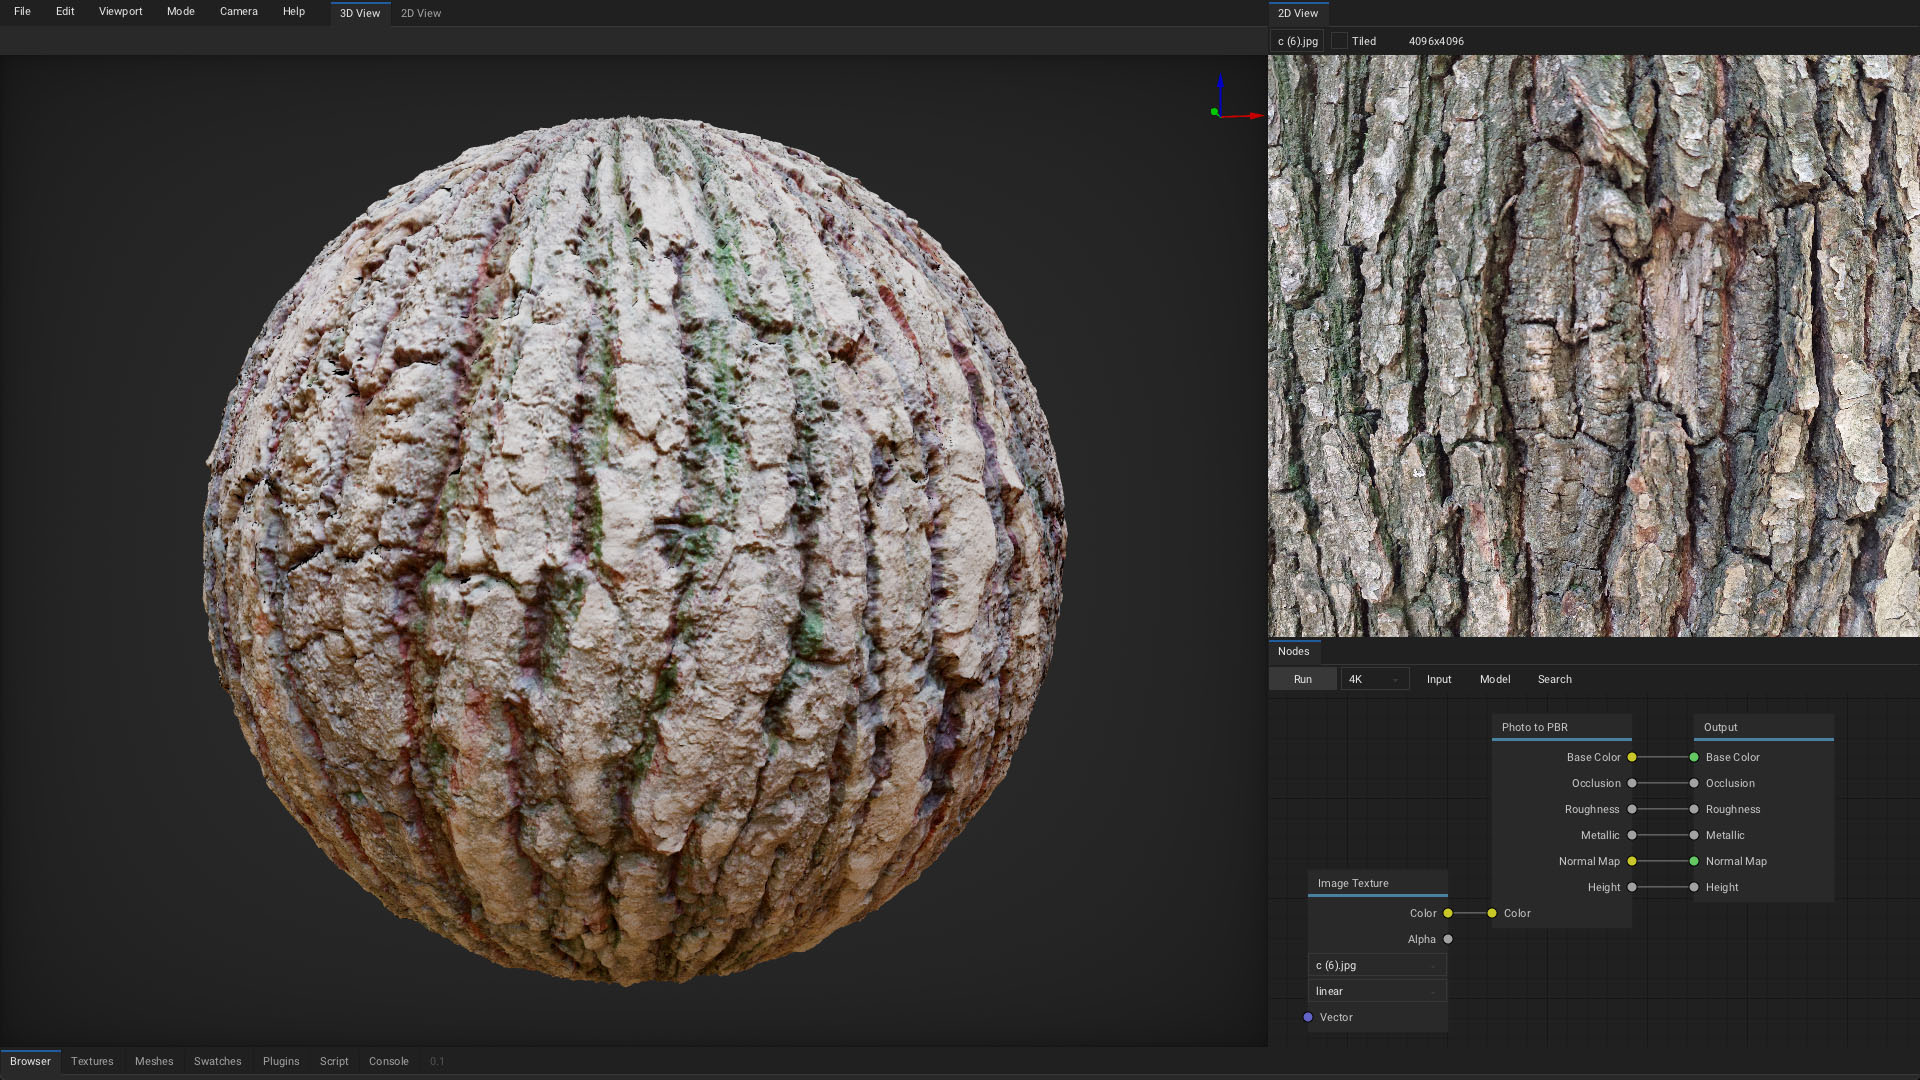
Photo to PBR Node
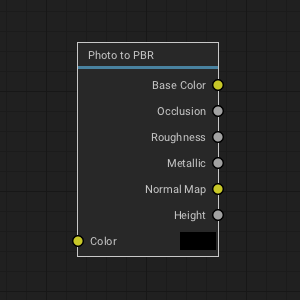
Extract base color, occlusion, roughness, normal map and height from color input. A photo image is expected as a color input.
Image Texture Node
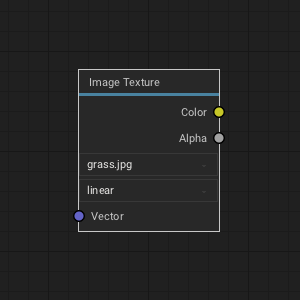
Reference to a texture file from disk.
Text to Photo Node
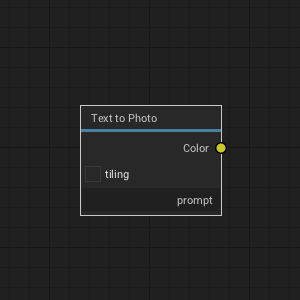
Generate a photo described via text prompt.
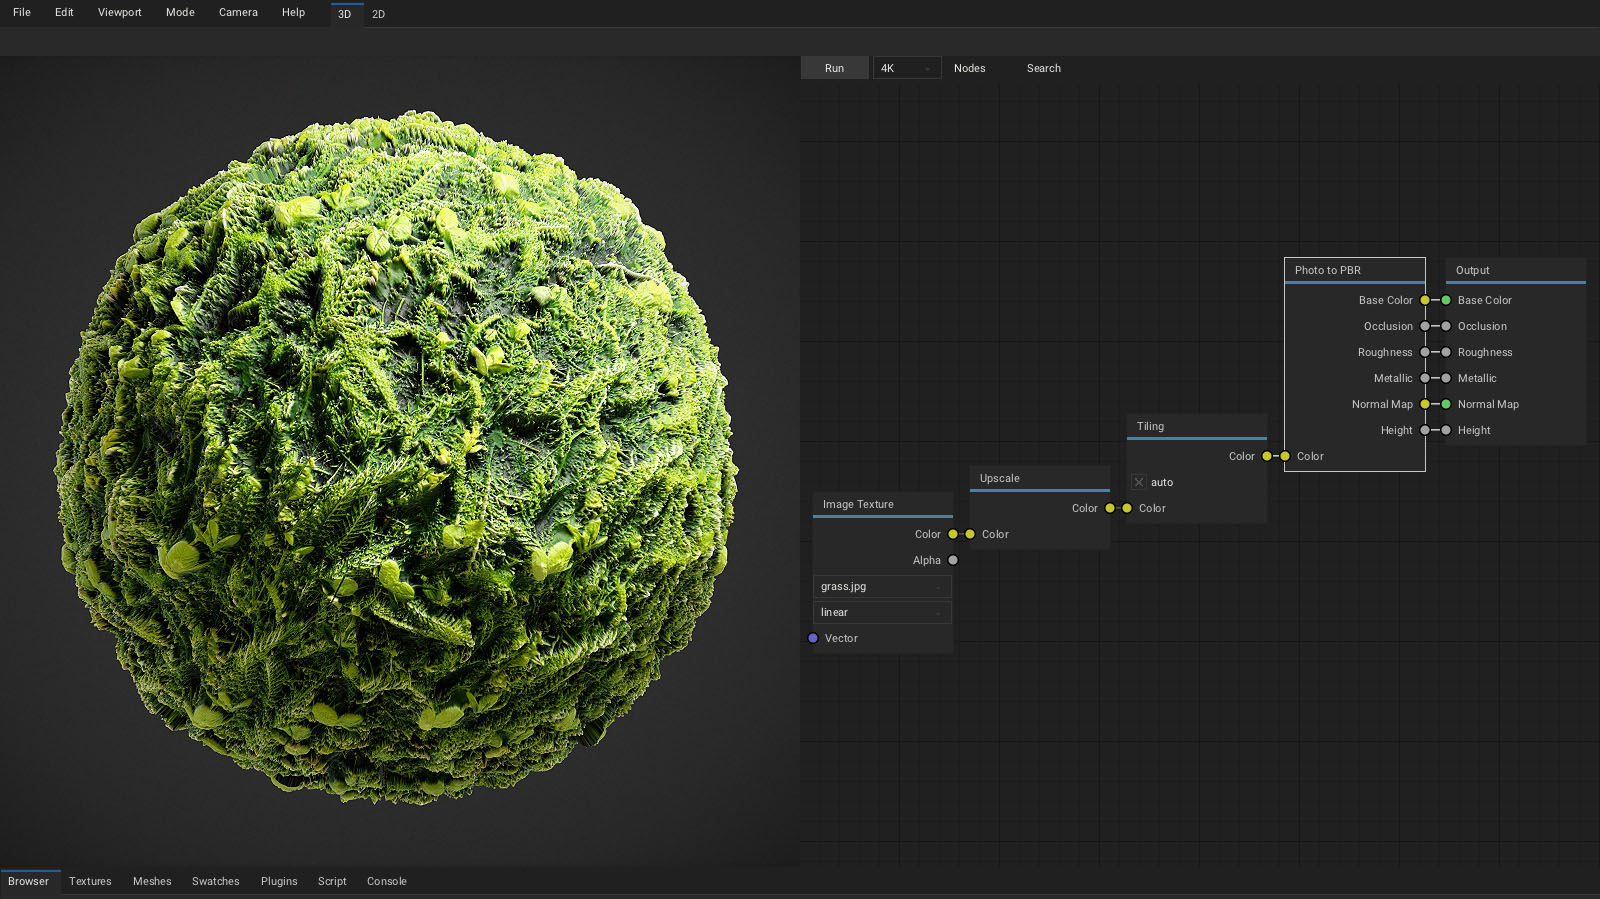
Tiling Node
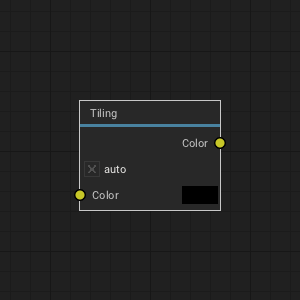
Outputs a tileable texture with removed seams from color input.
Inpaint Node
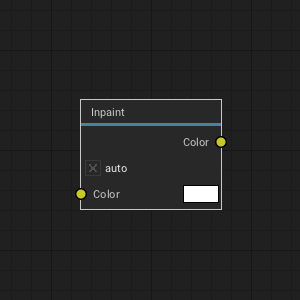
Allows to paint a mask in the viewport. Outputs a texture where mask area is filled with new content.
Upscale Node
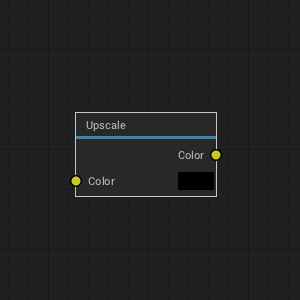
Upscales color input to the current project resolution selected in the node editor header.
Variance Node
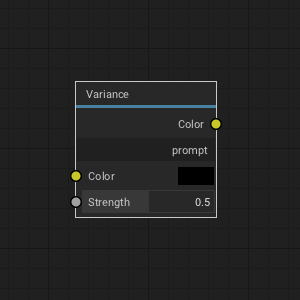
Generates a new image variant guided with text prompt.
Output Node
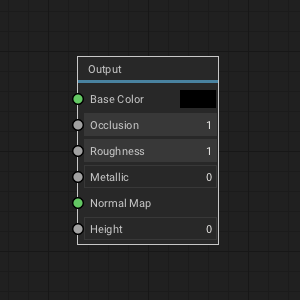
Final node which is used when exporting textures to disk.
Check out the gallery to see nodes in action.
Viewport
Set viewport parameters in Menu bar - Viewport.
- Enable
Distract Free(F11) mode. Toggle Fullscreen(alt+enter) mode.- Set
EnvironmentandLightintensity. - Set
Light Size. - Enable
Cull Backfacesto skip drawing backward facing polygons. - Enable
Filter Texturesto apply linear filter when sampling textures references by material. - Show 3D
Compassin the viewport. - Enable
Envmapto draw environment map in the viewport. - Enable
Blur Envmapto use blurred version of the environment map.
Drag and drop a
.hdrfile onto the viewport to change the environment map.Hold
Shift+middle mouse buttonto rotate light.Hold
Ctrl+middle mouse buttonto rotate environment map.To simulate pixel-art like texturing, disable
Filter Texturesoption and setSuper Samplein preferences to0.25x.
Viewport Mode
Set viewport render mode in Menu bar - Mode.
- Pick
Litto draw viewport with applied lighting using the rasterizer. - Pick specific channel to visualize it with no applied lighting.
- Pick
Path Tracedto draw viewport with interactive path-tracer. (ArmorLabDXR and ArmorLabVKRT builds)
Path Traced Viewport wip
- Available in ArmorLabDXR and ArmorLabVKRT builds (see dxr requirements and vkrt requirements).
- The renderer favors performance.
Camera
Set camera parameters in Menu bar - Camera:
- Set specific camera viewpoint.
Orbit,Zoom InandZoom Outcamera.Resetcamera.- Set
FoV(field of view). - Set
PerspectiveorOrthographiccamera type. - Set camera mode:
Orbit- Rotate camera around the mesh.Rotate- Rotate mesh around the origin.Fly- Holdright mouse buttonand move camera freely using theWASDandQEkeys.
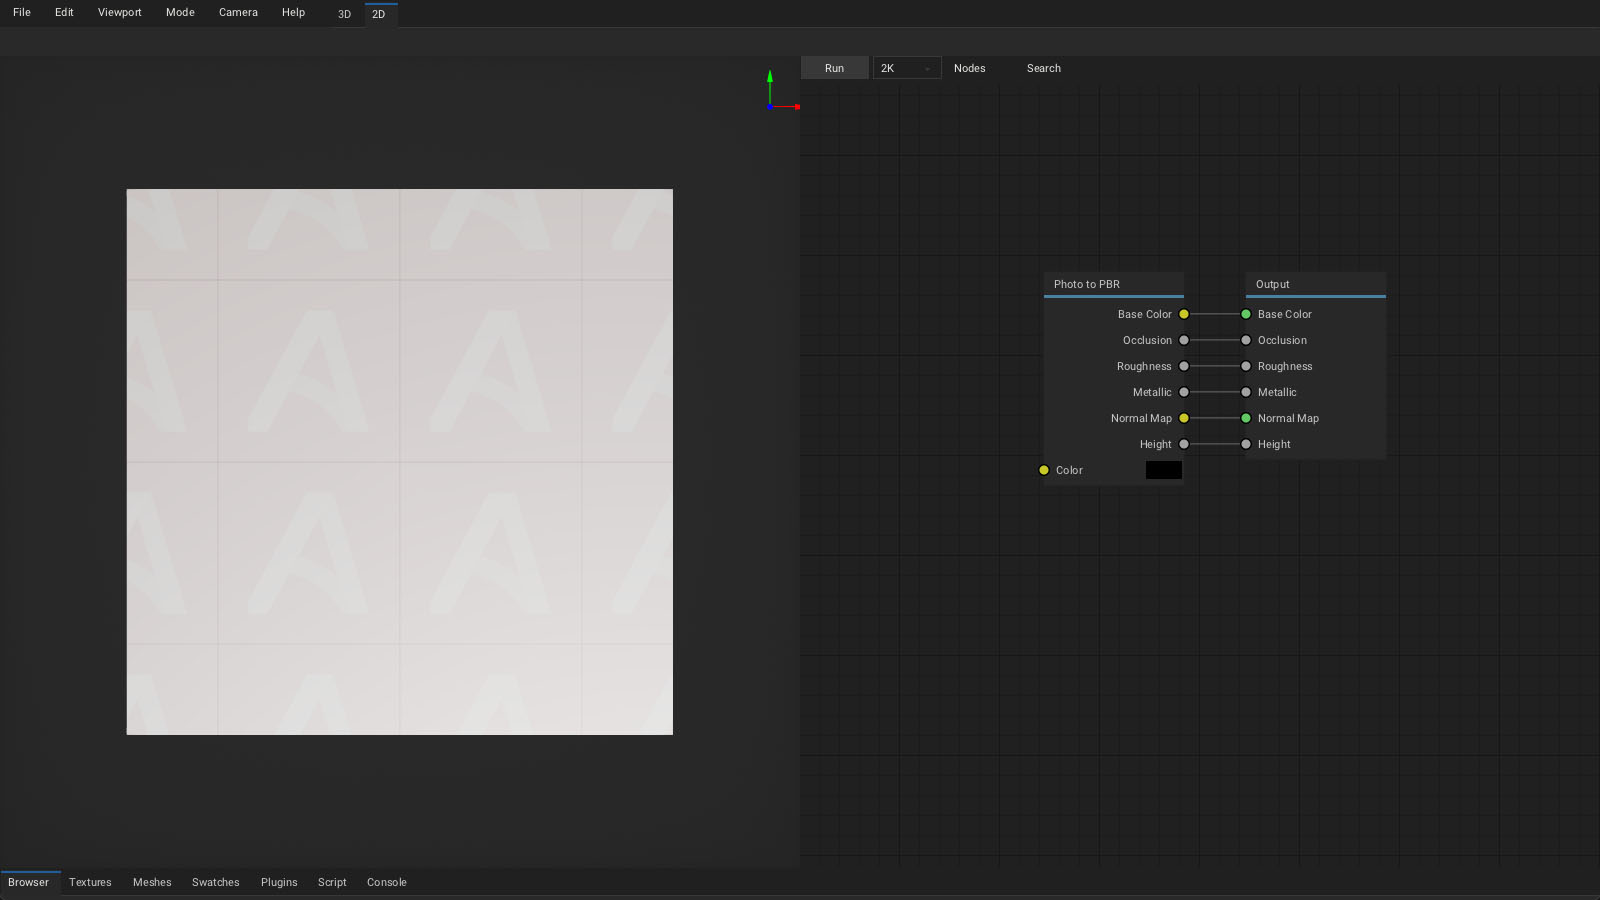
Workspaces
Select workspace tab from the header bar:
3D: Set for 3D view.2D: Set for top-down view of the plane object.
Preferences
Click Menu bar - Edit - Preferences... to show the preferences window.
Interface
Language: Set localization. See currently available translations.UI Scale: Scale up the user interface when running on high-resolution display. By default, 2X scale is applied during the first startup for high-resolution displays.Camera Speed: Intensity of camera movements.Direction to Zoom: Mouse / pen direction to perform camera zoom.Wrap Mouse: Wrap mouse around view boundaries during camera control.Show Asset Names: Draw labels below each texture icon.- Click
Restore - Confirmbutton to revert back to default settings. - Click
Restore - Import...button to import settings from older ArmorLab version. - Click
Reset Layoutbutton to revert all layout changes.
Theme
- Select
default(dark) orlighttheme. - Click
Newbutton to create custom theme. - Click
Importbutton to import theme from file. - Click
Exportbutton to export theme into file. - Set
Viewport Colorto draw when environment map is hidden. - Set color and size of individual theme elements.
- Set
StraightorCurvedlink style for node connections.
Usage
Undo Steps: Set the number of undo steps to keep. Using less undo steps may improve performance when running on GPU with constrained memory.Default Workspace: start-up workspace.Default Layer Resolution: for new layers.Cloud Server: address of the S3 server used byBrowser tab - Cloud.GPU Inference: Use GPU to accelerate node graph processing.
Pen
Brush Radius: When painting with a pen, pressure affects the radius of brush.Sensitivity: Manual pen pressure sensitivity control.
ArmorLab uses
Windows InkAPI on Windows.Windows Inkis available on Windows 8 or newer.When using a Wacom tablet on Windows, ensure
Use Windows Inkoption is enabled in Wacom Tablet Properties.When using a Wacom tablet on Windows, you can rotate the viewport by assigning
Alt+Left clickmodifier onto pen button in Wacom Tablet Properties.Pen pressure is expected to work on Windows, Linux, macOS, Android and iOS.
Viewport
On faster GPUs:
- Raise
Super Sampleto 2X/4X for improved anti-aliasing. - Enable
Voxel AOfor cone-traced ambient occlusion and shadows (non DXR / VKRT builds).
On slower GPUs:
- Disable
SSAO (screen-space ambient occlusion)for improved performance.
Additional options:
- Set
Path Tracermode:Corefor performance,Fullfor features. (DXR / VKRT builds) - Set clipping values with
Clip StartandClip End. - Enable
SSRfor screen-space reflections. - Enable
Bloom. - Set
Vignetteintensity. - Set
Displacement Strengthapplied by height channel in the viewport.
Keymap
Select an existing preset or define custom keyboard shortcuts.
- Use
left,middle,righthandles to reference mouse buttons / pen. - Use
+character to reference multiple keys: ie.ctrl+1. - Click
Importbutton to import keymap from file. - Click
Exportbutton to export keymap into file.
Plugins
Press Plugins tab - Manager to open the plugin manager.
- Click
Importto install a new plugin from.js,.wasmor.zipfile. - Click
Newto create a new hello-world plugin. - Enable desired plugins from the list.
- Right-click onto plugin name to expose plugin operations:
Exportplugin file for distribution.Editplugin in a text editor.Deleteplugin.- Controls for enabled plugins are displayed in the
Plugins tab. - Some plugins may not expose controls but add new import / export file formats.
Plugin Development
Plugins are written in JavaScript or WebAssembly (compiled from C, Rust, ..). For a minimal example, see the bundled hello_world.js file located in the ArmorLab/data/plugins folder.
A plugin development guide will be provided soon.